Make Your Own Kefir at Home: Healthy, Inexpensive, and Easy
Share the joy
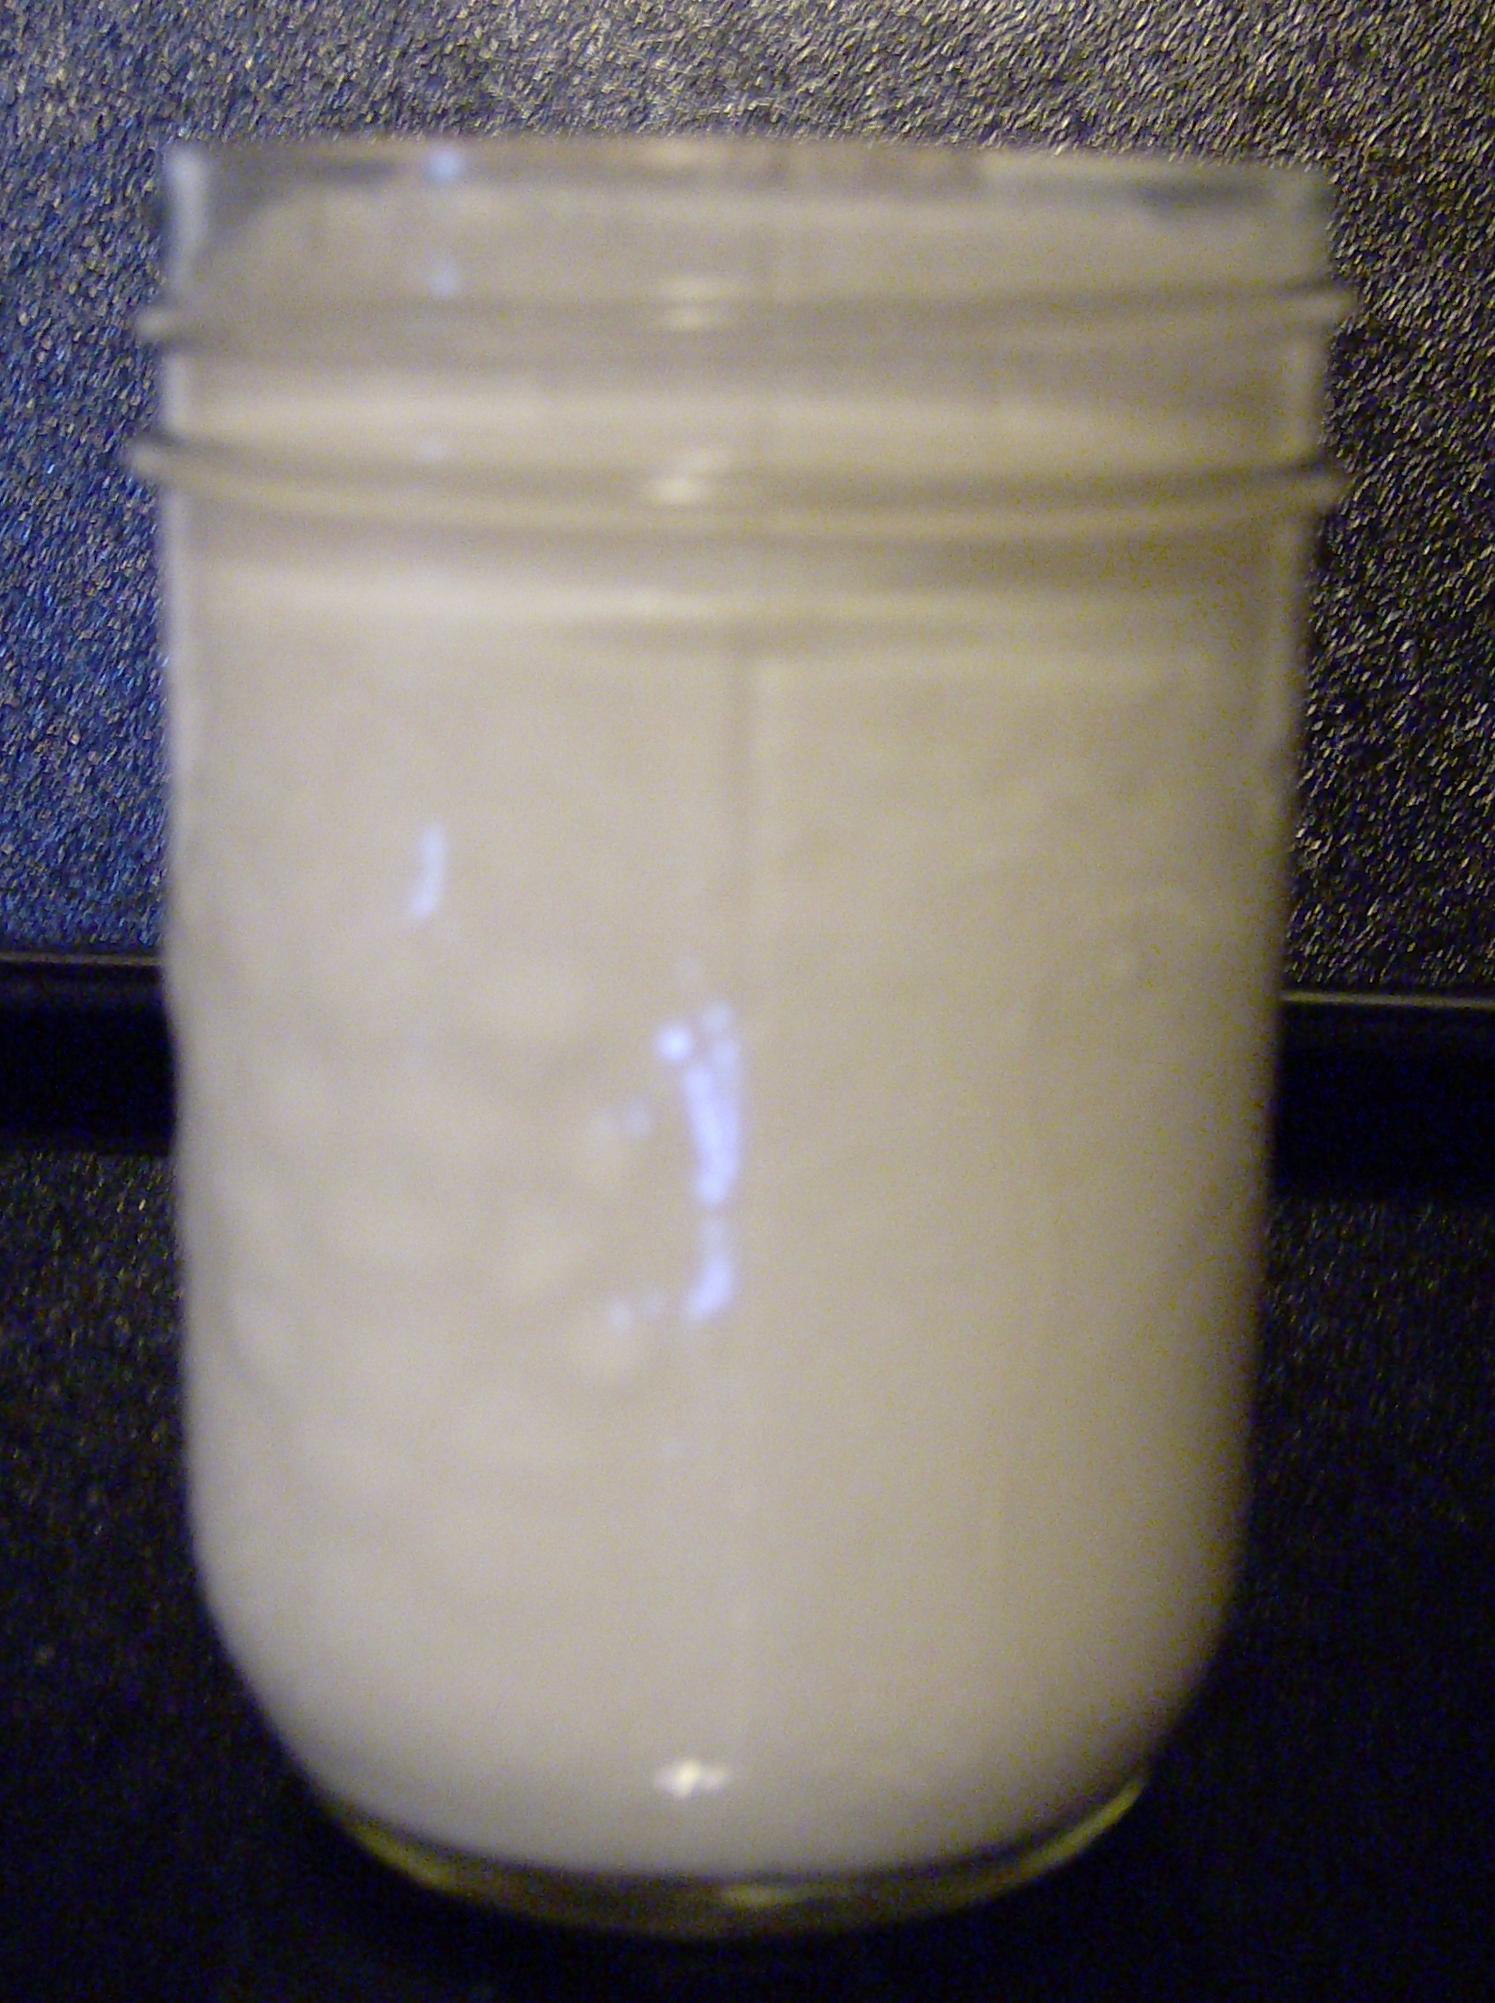
Milk Kefir
Super Source of Probiotics and Easy to Make
Do you like milk kefir? Have you ever tried it? It is a pourable dairy food that is somewhat similar in taste to yogurt, although it can be a little more tart. It contains far more strains of beneficial probiotic bacteria than yogurt, and you can very easily make your own kefir at home. After you purchase your kefir grains, or get them free from a friend, the only cost of making kefir is for the milk.
This is a probiotic food that you may want to consider including in your diet on a regular basis because of this high probiotic content. It is also one of the easiest cultured foods to make. You place the kefir grains* into milk, leave it covered with a breathable cover at room temperature for 24 to 48 hours, and then strain the grains out of the kefir. You then use these grains to start a new batch of kefir (or store them in milk in your refrigerator until you are ready to make your next batch).
Contains Far Less Lactose Than Milk
In the culturing process, the bacteria and yeast consume the lactose, which is milk sugar, in the milk. Because of this, the milk is predigested, and some people who are lactose intolerant find that they can drink milk kefir, and sometimes yogurt, because there is very little, if any, lactose remaining in the cultured kefir. The beneficial organisms, a symbiotic colony of yeast and bacteria, in milk kefir aid in digestion and help to clean the colon.
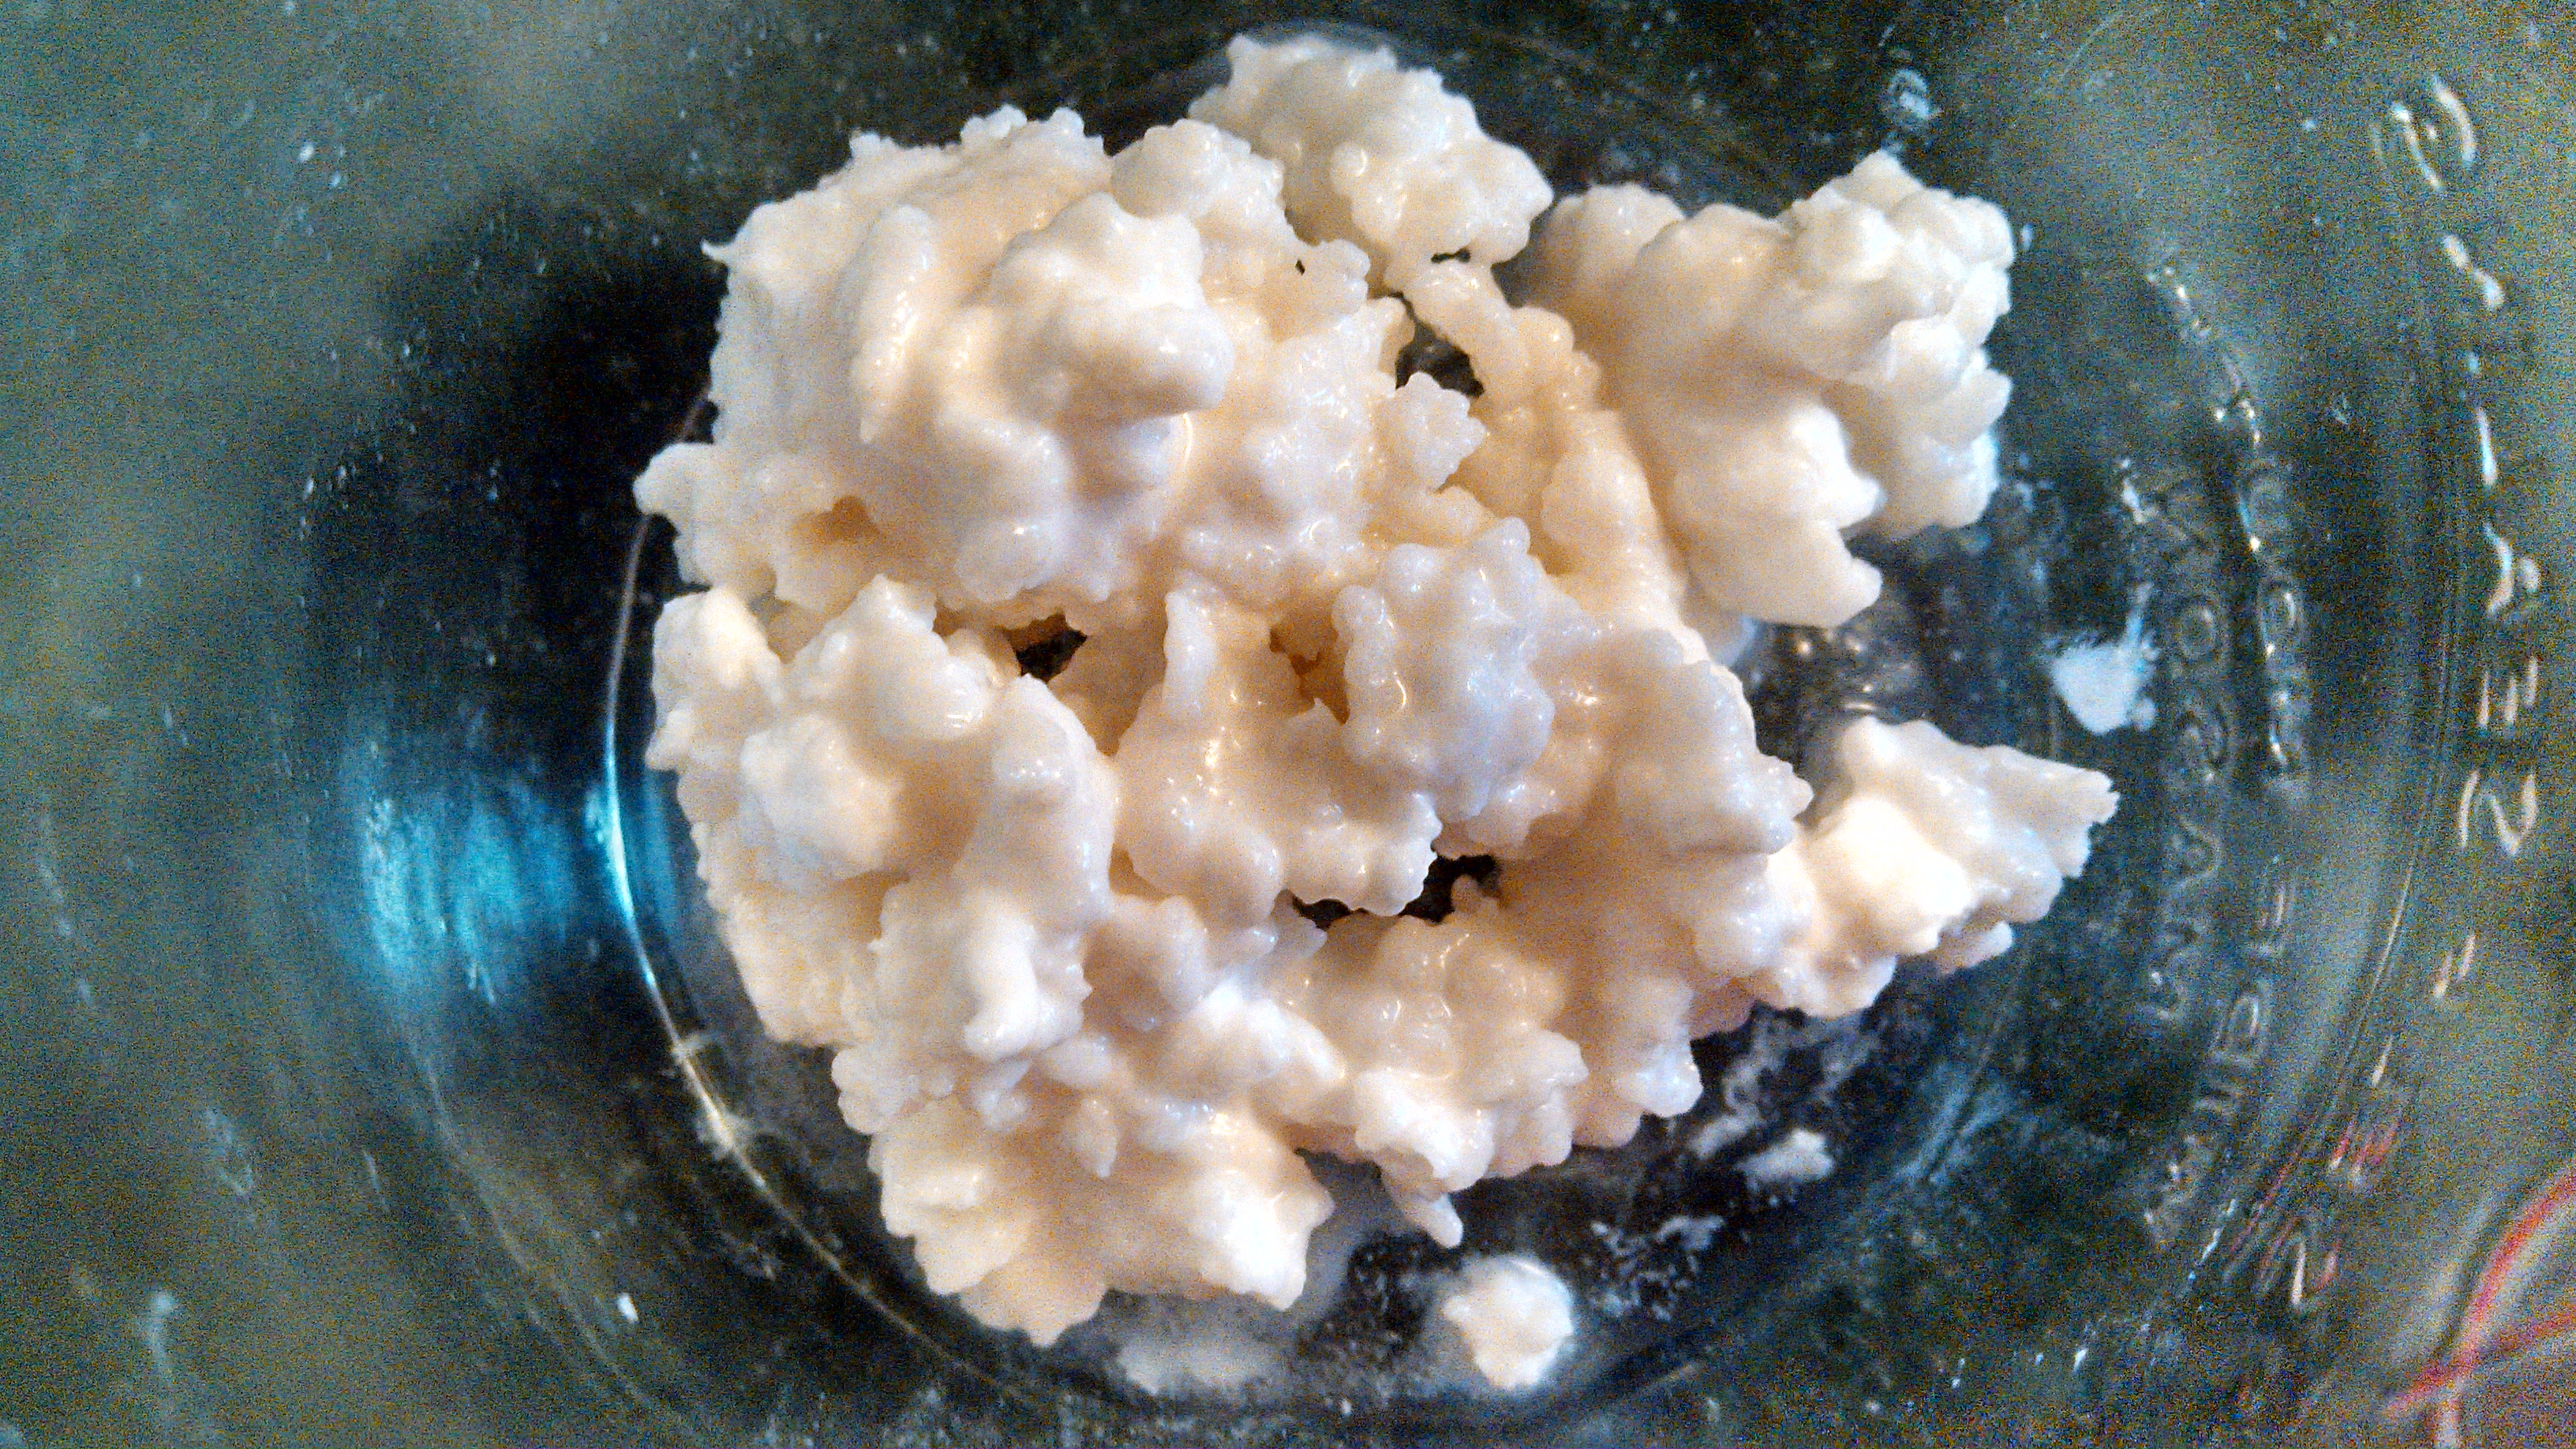
Kefir Grains
*The grains are not really grains at all. They are a symbiotic colony of beneficial bacteria and yeast, which resembles grains in appearance only. They also look like pieces of cauliflower.
Here are the steps to making milk kefir:
What You Need:
Milk Kefir Grains
Milk (cow, goat, sheep, etc.)
A glass jar
A breathable cover, such as a cloth napkin, paper towel, or coffee filter
A rubber band
A plastic strainer or colander
The Process:
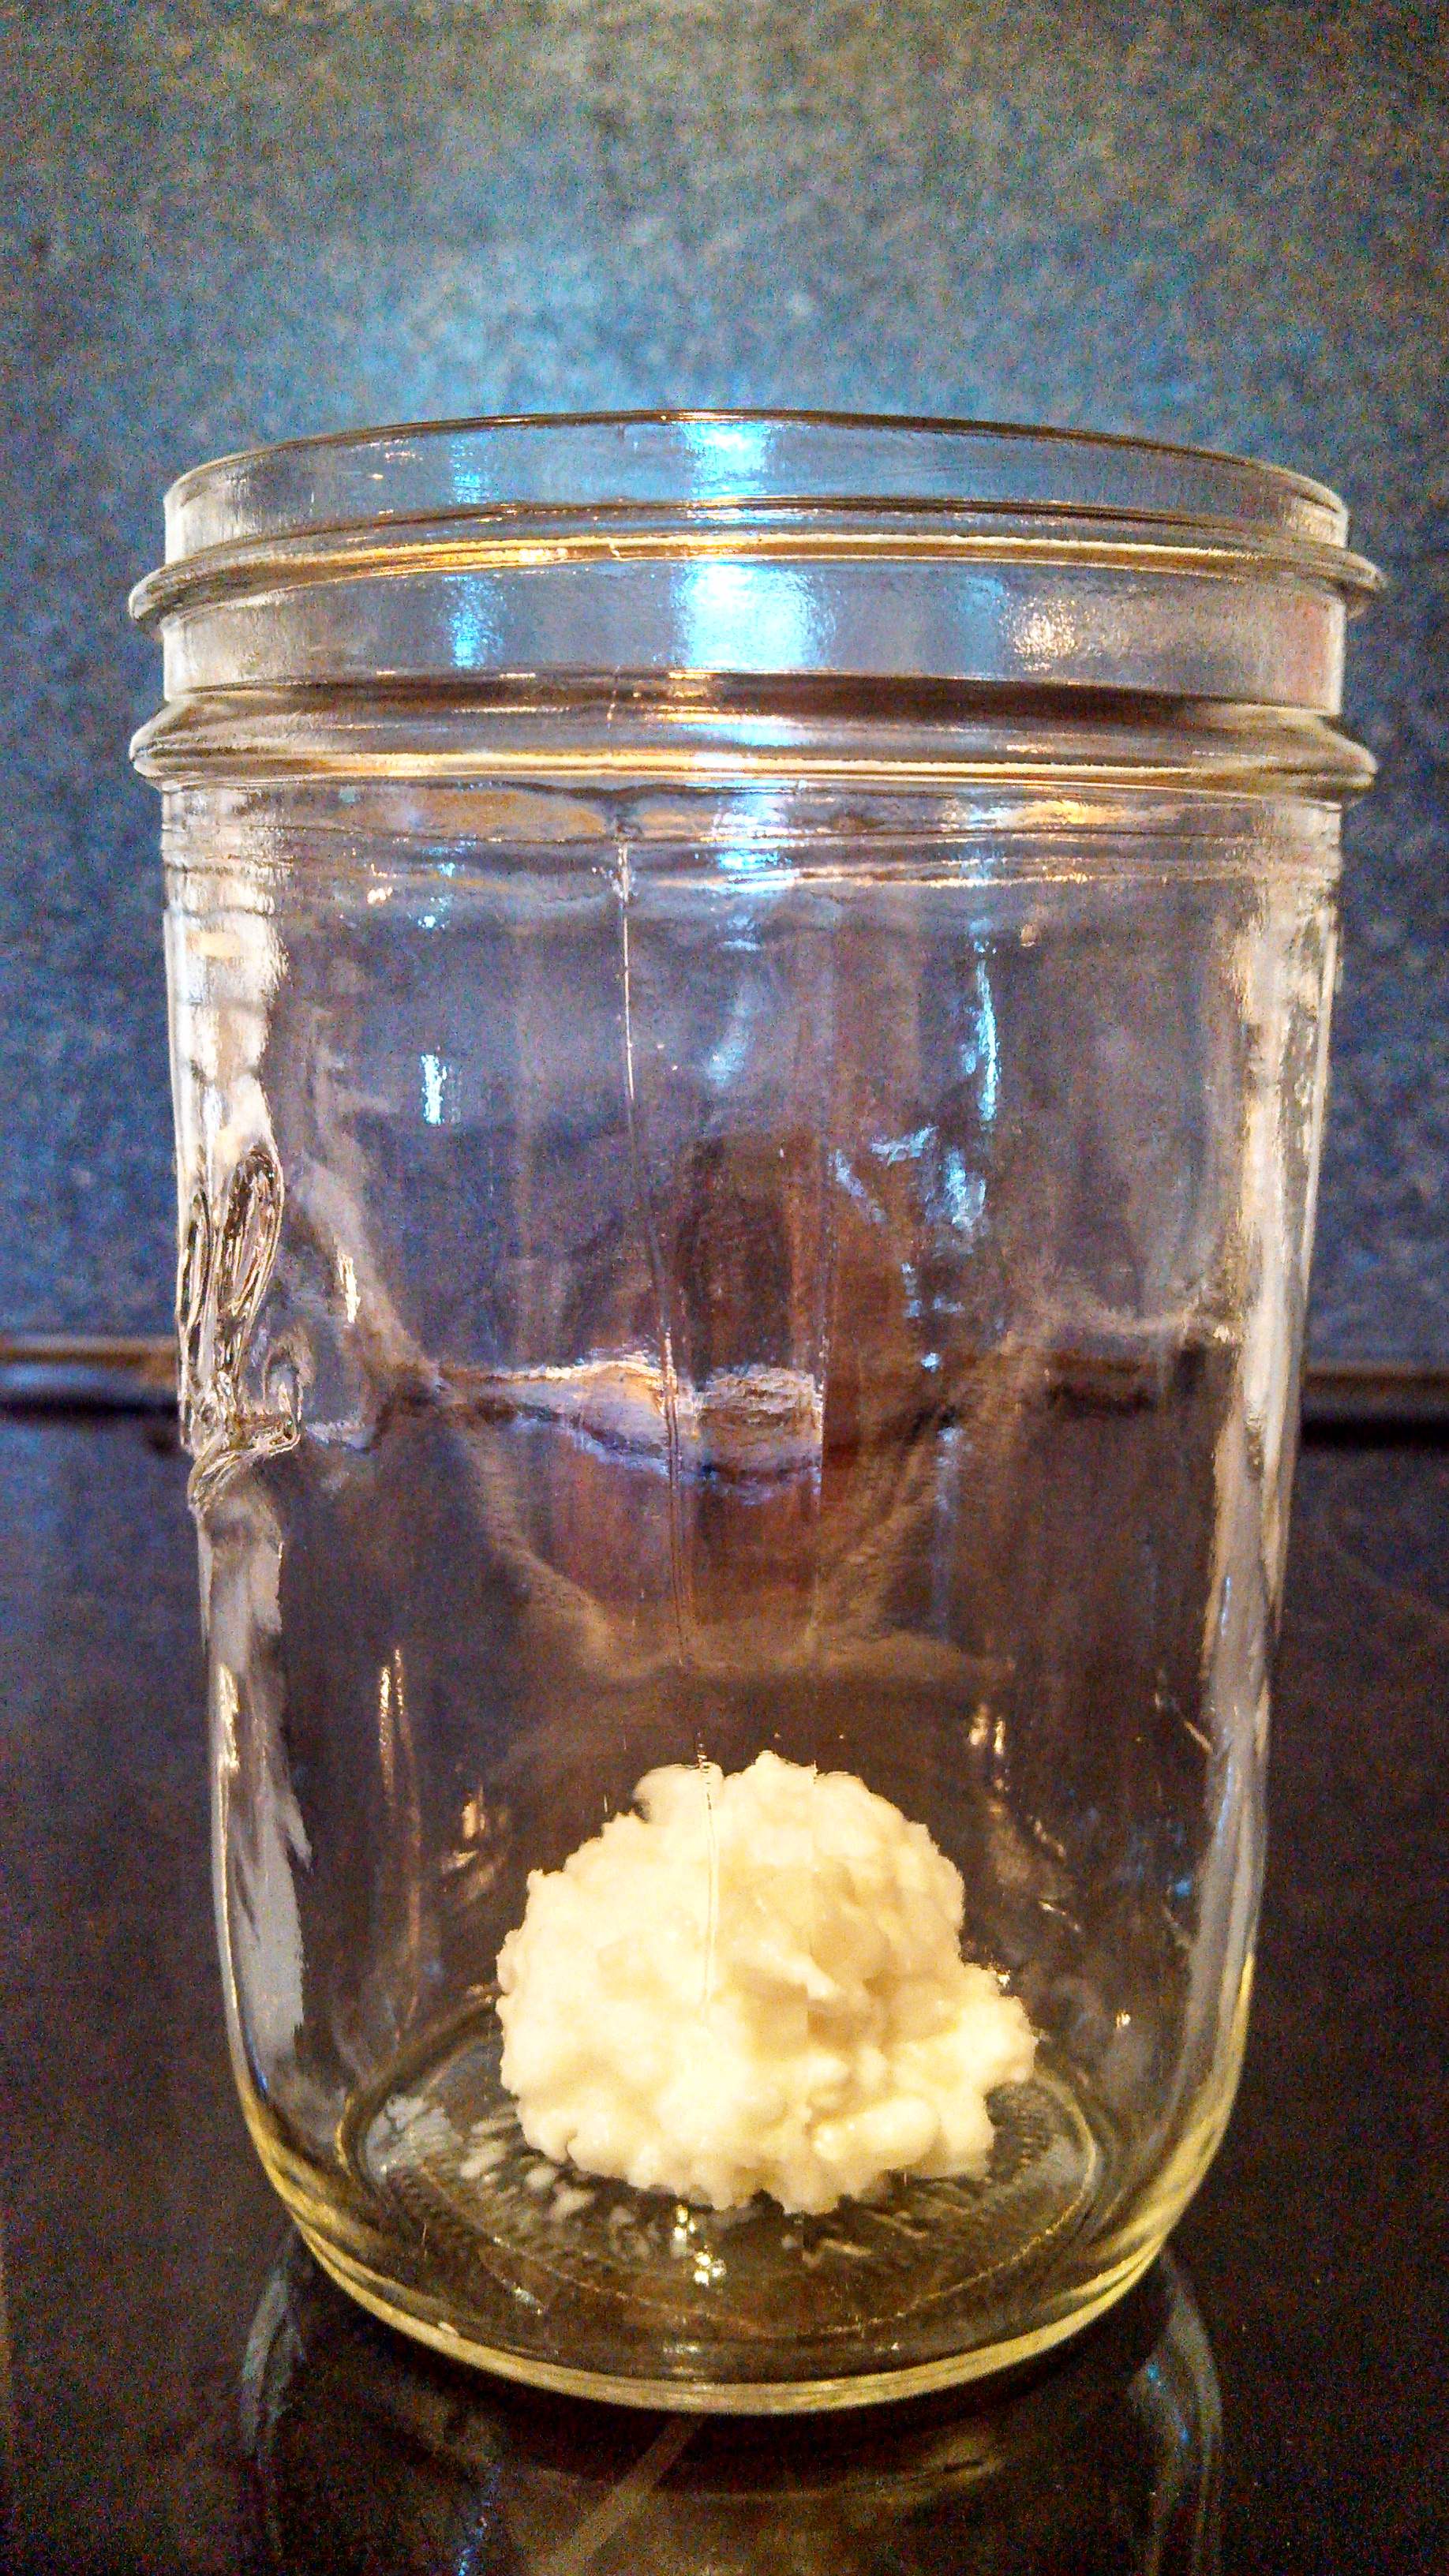
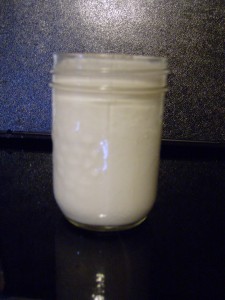
Place the kefir grains into a glass jar.
-
Place the kefir grains into a glass jar, such as a canning jar. You will use one to two tablespoons of kefir grains per quart of milk. I have found that the kefir cultures more quickly when I use a larger quantity of kefir grains.
-
Pour in milk. The milk can be cold out of the refrigerator or warm, fresh from milking.
-
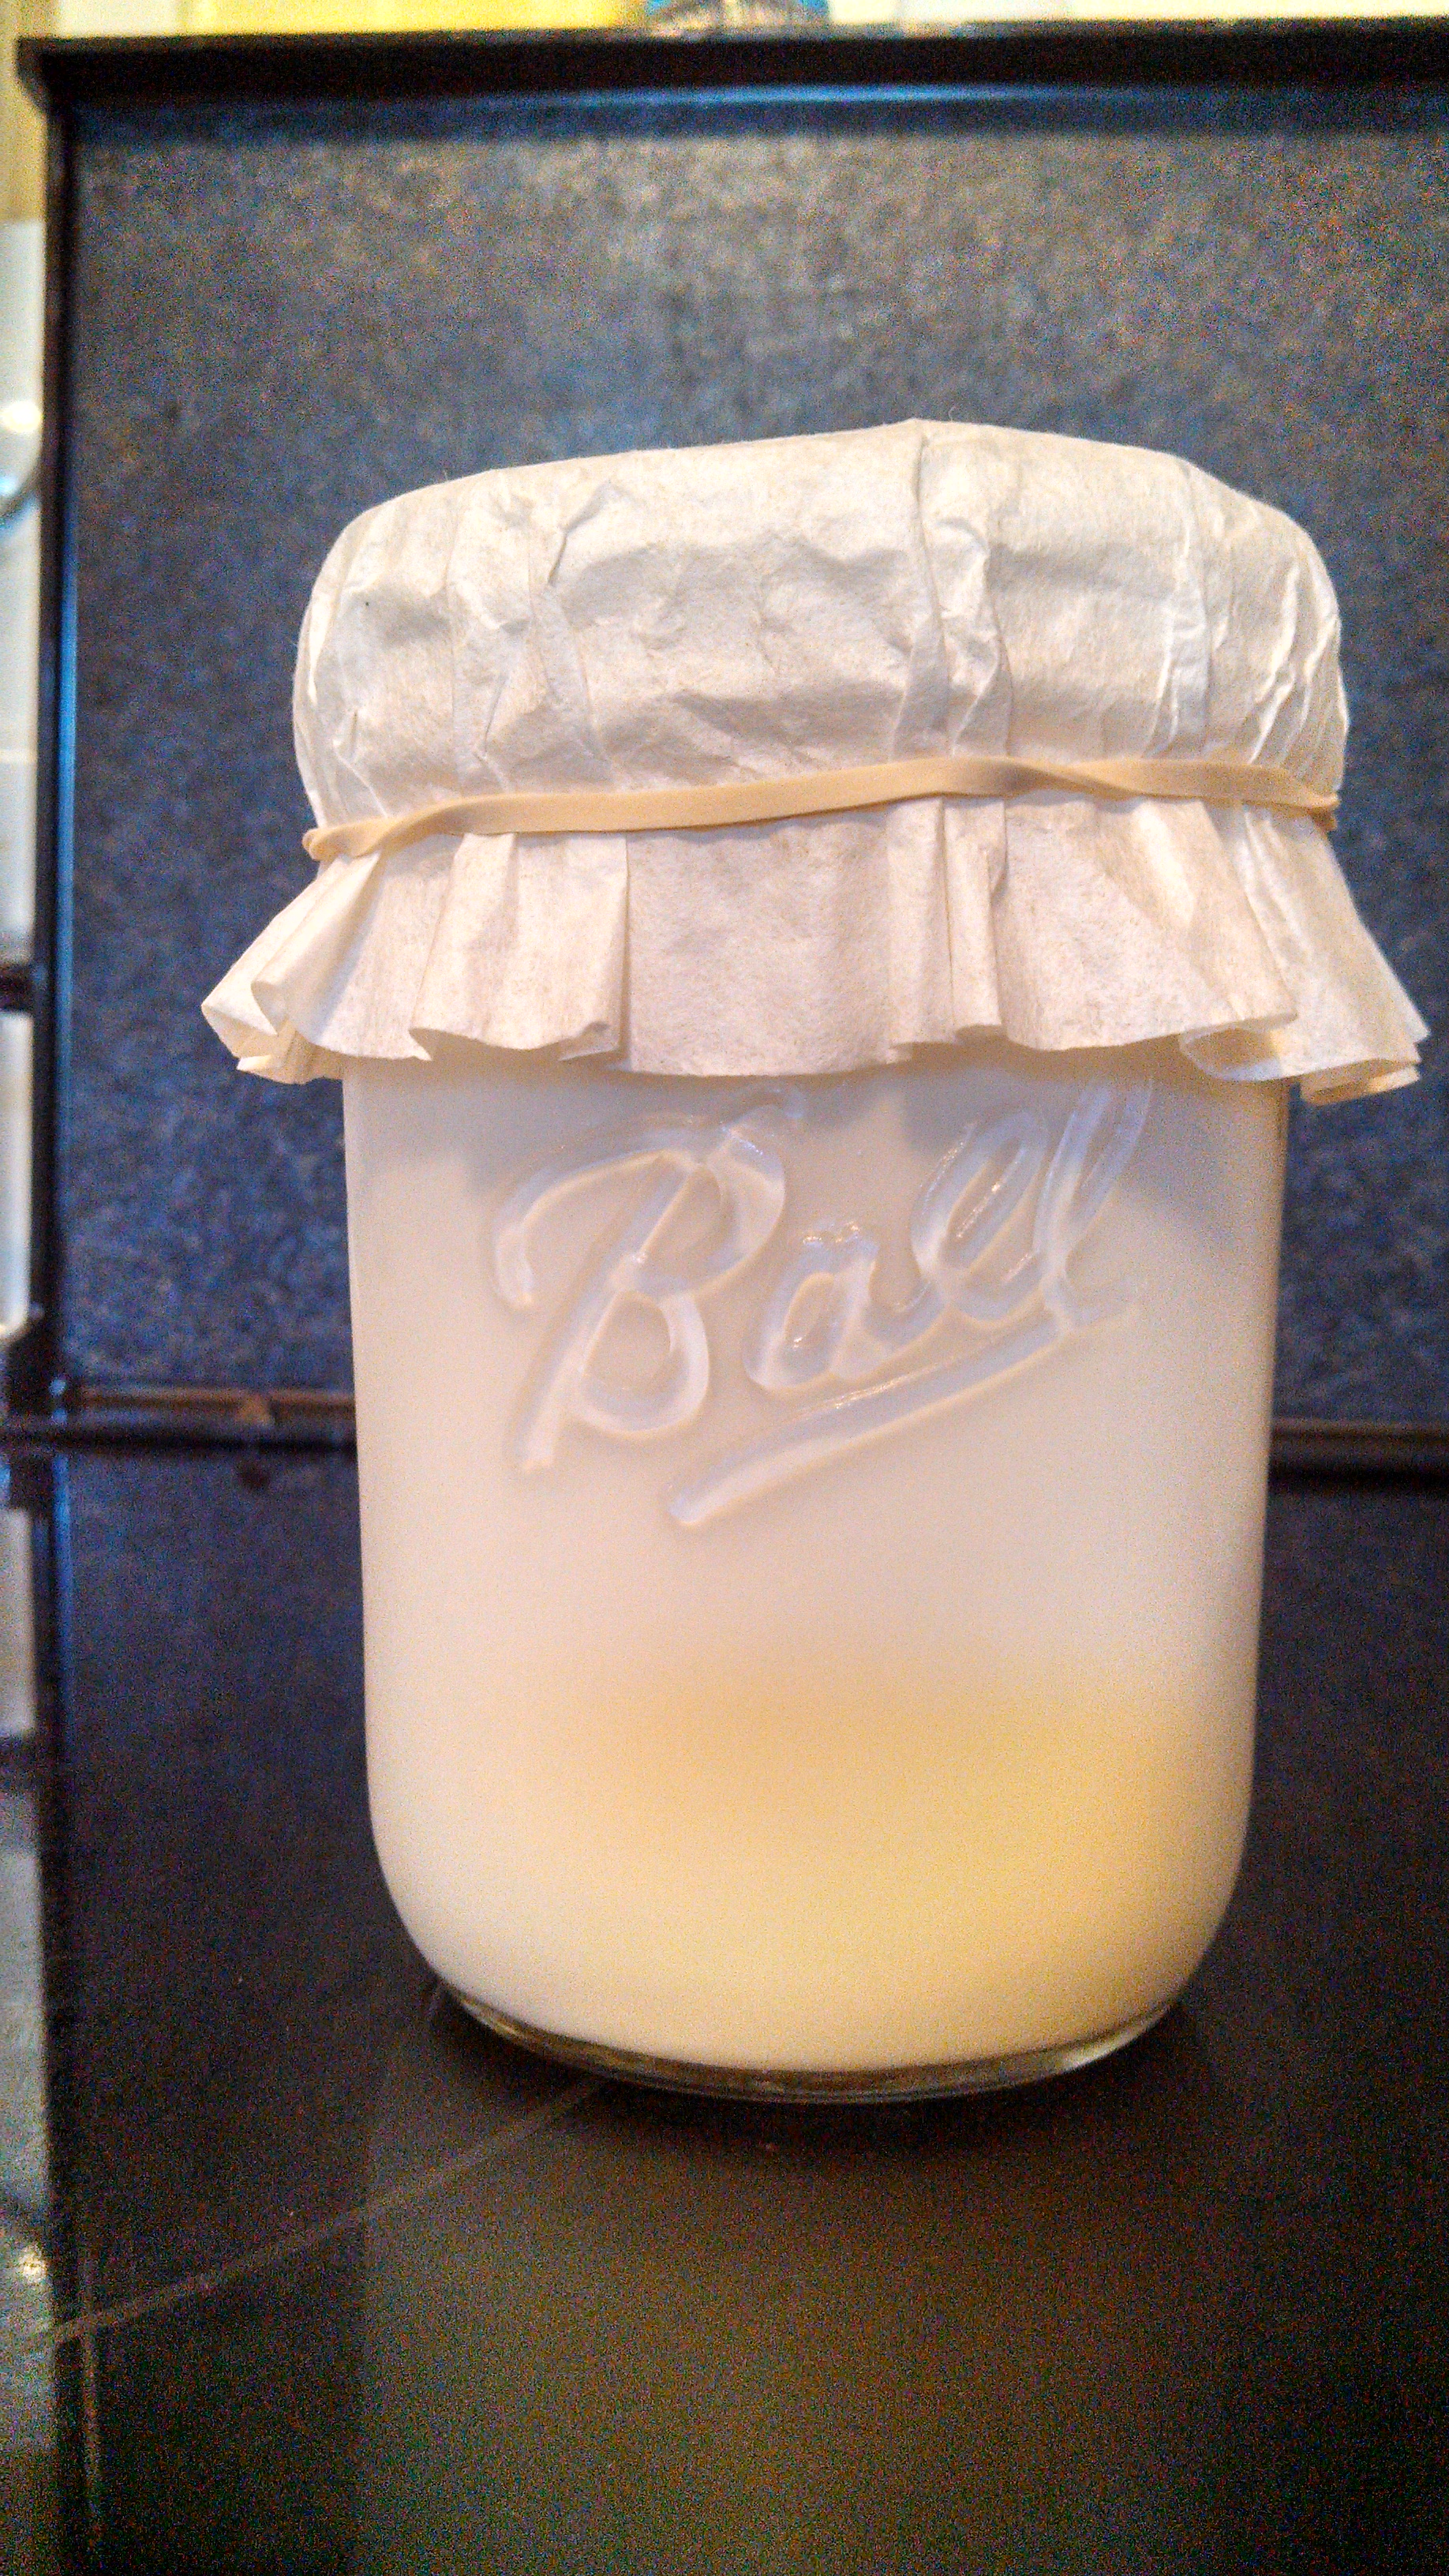
Cover with a breathable cover, such as a cloth napkin, tea towel, paper towel, or coffee filter. I use a coffee filter. Secure it with a rubber band. Do not use regular cheese cloth, as the weave is loose enough for fruit flies to get through.

Cover milk and kefir grains with a coffee filter while it cultures.
-
Set the jar on the counter, out of sunlight and at least five feet away from other ferments. Leave for 24 to 48 hours. I like to gently stir it one or two times during that time. Taste it after about 24 hours, or sooner if the temperature is warm. If you like the taste and thickness, then strain out the grains. (You will find that the thickness of your kefir is not always the same. You may go through a period of time when it does not get thick at all. It will always be very pourable.)
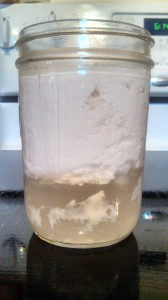
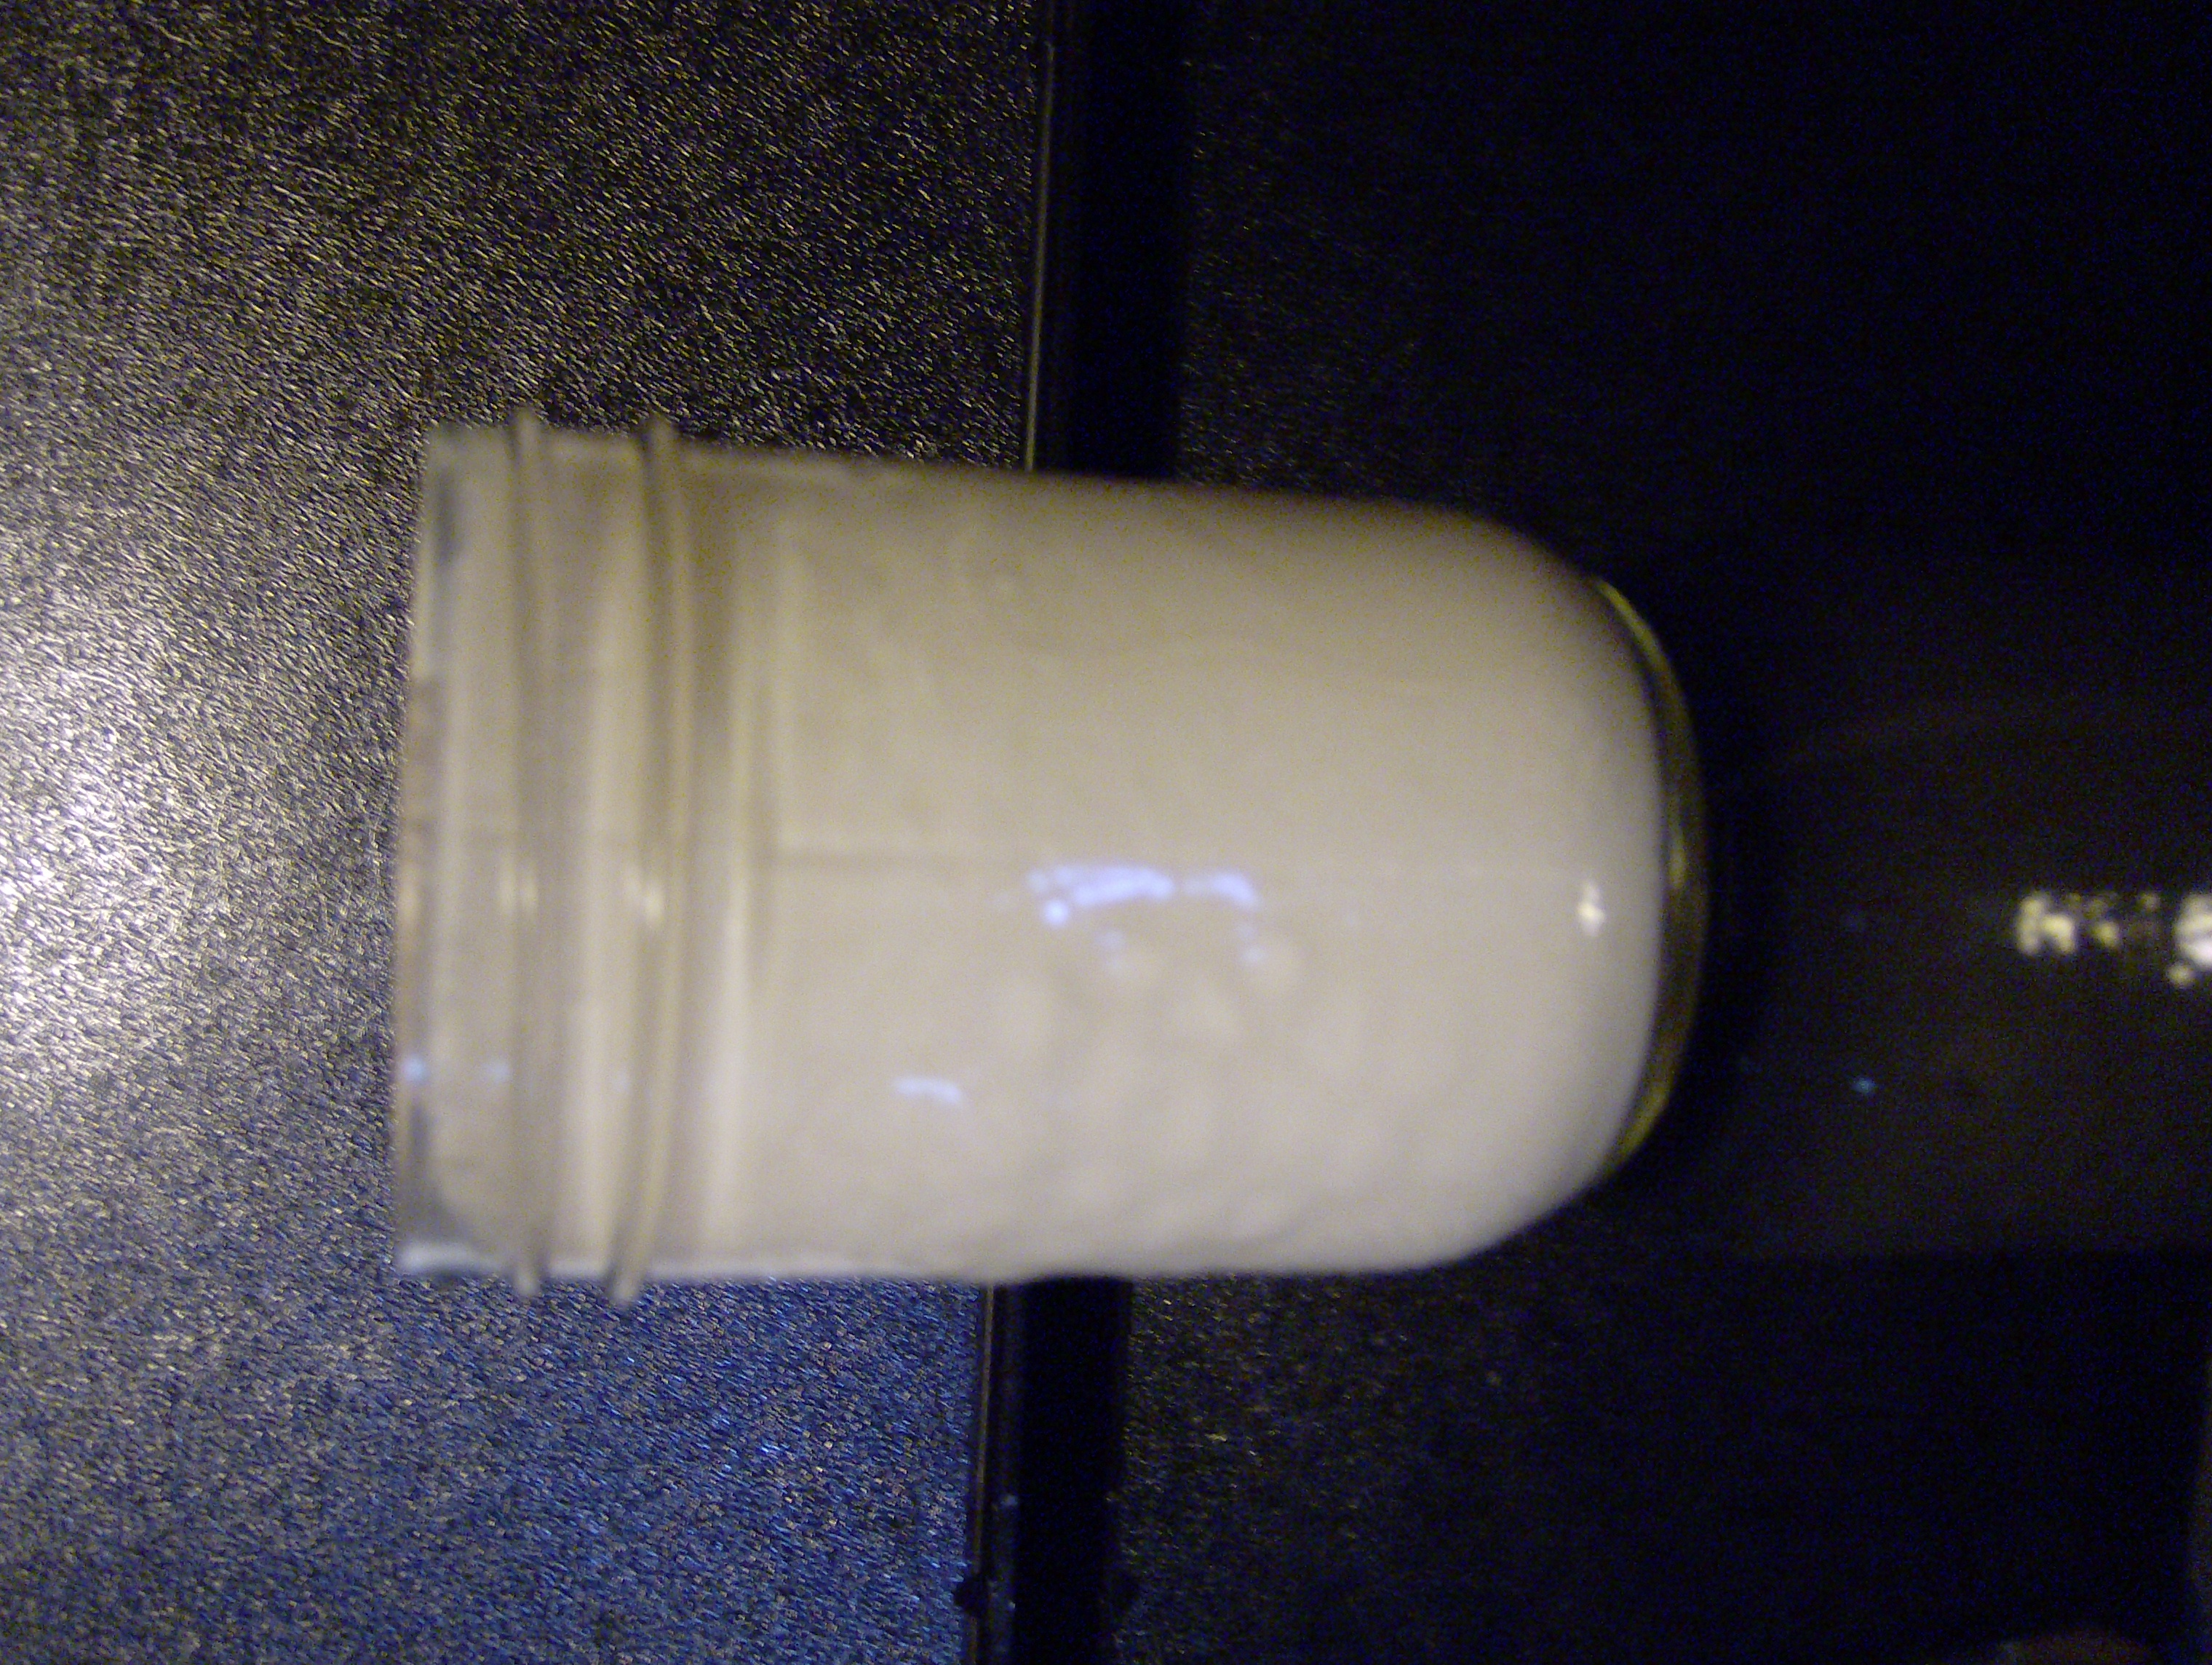
Kefir: Curd Separated from Whey
If the kefir cultures a little too long, the curds will separate from the whey. You can stir them back together, and it is usually fine. It is fine to drink, but the culture may not be as smooth as you would like.
-
Dairy Kefir that is Nice and Smooth
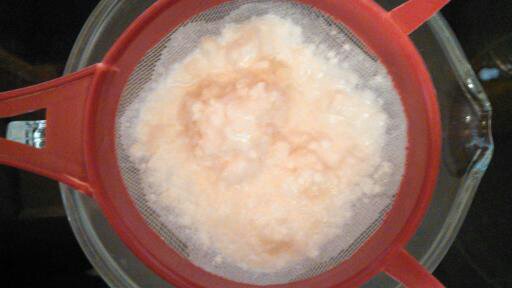
When the kefir is cultured to your liking, pour it through a plastic strainer. You will need to gently stir it in the strainer to help the thick part of the kefir pass through.

Strain the Kefir Grains Out
-
Add the grains into a new jar of milk to make another batch of kefir.
-
Drink the cultured kefir or store it in the refrigerator with a tight fitting lid.
-
Optional: Leave the kefir in a jar with a tight fitting lid out on the counter for a second fermentation, for 12-24 hours, or until it is to your liking. It will continue to ferment and will develop some carbonation. Then drink or refrigerate the kefir.

Some Tips for Making Milk Kefir
- Do not use metal with kefir, as this can harm the culture. Brief contact with stainless steel may be alright. Never use a metal other than stainless steel.
-
Always culture it in a glass or ceramic container. It will react to metal and can leach chemicals out of plastic when it is left in there for an extended period. Plastic for the strainer is the best choice, as it will not be in there for very long and it is not reactive like metal is.
-
To take a break from making kefir, place the kefir grains into a jar with a lid with enough fresh milk to cover them. This will keep for about two weeks in the refrigerator. It is best to change the milk about once a week.
-
You can also make milk kefir with nondairy milks like coconut milk or soy milk, but you will need to put the grains back into dairy milk every few batches. This is because the kefir grains need this milk to remain healthy. I have not had very good luck making kefir with homemade raw almond milk, but feel free to experiment. Please let me know, in the Comments below, how it turns out.
I have a source for purchasing milk kefir grains in the Resources section of my website. You can also see if someone you know makes kefir and would give you some. They grow, so people usually have extra.
Another great source of information regarding making kefir and other cultured dairy is the GNOWFGLINS Cultured Dairy and Basic Cheese eCourse or the GNOWFGLINS Cultured Dairy and Basic Cheese eBook. You get 40% off on all of their eBooks if you subscribe to the eCourses.
Please let me know in the Comments section below how your kefir turns out and how you like to make yours. I will be glad to answer your questions.
By Tia Lee
This page contains affiliate links to products, services, and companies I use or recommend. When you make purchases through these links, you are supporting the companies or products I believe in, and you’re supporting DIY Probiotic Foods. There is no added cost for purchases you make through these links, but I earn a small commission, which helps to keep this website in operation. Thank you!
Share the joy
When someone writes an paragraph he/she keeps the plan of a user in his/her brain that how a user can understand it.
Therefore that’s why this post is amazing. Thanks!
You are welcome. Thank you.
This design is spectacular! You most certainly know how to keep a reader amused.
Between your wit and your videos, I was almost moved to
start my own blog (well, almost…HaHa!) Fantastic job.
I really loved what you had to say, and more than that,
how you presented it. Too cool!
Thank you, Camille.