Looking for Milk Kefir Recipes? — Make Kefir Cheese and Cheese Balls
Are you looking for other ways to eat kefir? Do you need recipes using milk kefir? Try kefir cheese and cheese balls.
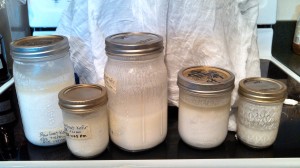
If you make milk kefir every day, and you do not drink all that you make daily, you will soon accumulate a surplus of kefir in your refrigerator. If you keep your kefir grains producing without storing them, you will almost certainly have more than you can drink. So, what can you do with all of that kefir that is being stored in your refrigerator.
I hate to waste anything, especially something as good for you as kefir. This is especially true when I make it with my organic, grass-fed, raw milk, which is even more costly and dear. Room in my refrigerator is at a premium, too. Finding a way to use the kefir so that it either reduces or eliminates the space needed in the fridge is important to me.
(Learn how to make your own milk kefir here.)
Kefir Cheese, Anyone?
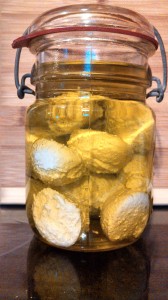
Enter kefir cheese and kefir cheese balls stored in olive oil at room temperature. The kefir cheese is greatly reduced in volume from the original kefir. It has to be refrigerated, but if you make it into kefir balls, you can store them immersed in extra virgin olive oil at room temperature for months.
I do this whenever I can. What is even more wonderful, is the fact that they taste so good! I learned how to make kefir cheese and cheese balls from Wardeh Harmon’s GNOWFGLINS Cultured Dairy eCourse. (This is just one of many traditional food preparation eCourses that are included in one membership.)
There Are Many Uses for Leftover Whey
You do have the whey left over, but you can use it to lacto-ferment fruits and vegetables, in baking, to soak your grains or flour before baking (which makes them more easily digested), drink it, feed it to your animals, or use excess to make ricotta cheese. (The GNOWFGLINS eCourses teach how to to do all of these things and much more in traditional food preparation. I have learned so much from Wardeh Harmon, who operates this site and teaches most of the lessons. You will love the eCourses, too. I find them well worth the small investment, and I think you may too. You will be offered five free lessons if you start to leave the site or if you go to www.GNOWFGLINS.com, which is her blog. I recommend these because I think Wardeh, her blog, podcasts, books, and eCourses are excellent!)
On to Kefir Cheese…
How to Make Kefir Cheese
Ingredients:
Plain milk kefir, as much extra as you have (See how to make kefir here.)
Sea salt, to taste
Extra Virgin Olive Oil (EVOO) to cover, if making the kefir balls
Equipment:
Large pan or bowl (glass, ceramic, or stainless steel)
Large colander (stainless steel)
Two layers of 90 count cheesecloth (sometimes called butter muslin) You need pieces large enough so that you can tie all four ends together and around a stick, wooden spoon handle, or heavy string to hang the cheese to drain.
A spoon and possibly a rubber spatula
A small cookie scoop or two spoons
A glass jar with a lid, large enough to hold all of the cheese balls and be covered with EVOO
A glass storage container to hold any leftover kefir cheese, if there is any
Directions:
1. Set the colander into the large bowl or pan. The container needs to keep the colander suspended over it but be able to catch all liquid that drips out of the it.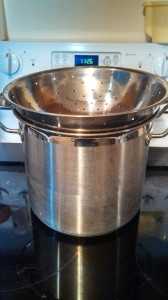
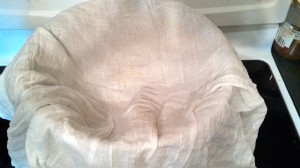
2. Lay a double layer of 90 count cheesecloth over the colander, and press the center of it into the colander.
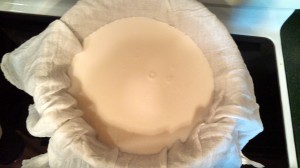
3. Pour all of your kefir into the cheesecloth-lined colander.
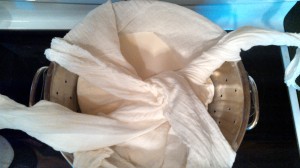
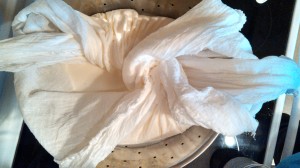
4. Tie two opposite corner both layers of the cheesecloth. Pull it down to just above the level of the kefir. Turn the two tied ends so that they line up with the other two corners. Keeping the tied and untied ends together on either side, tie the two remaining corners with the already tied corners together. Pull down as tightly as you can to the first two. Be sure to tuck the ends into the colander, so whey does not drip onto your counter.
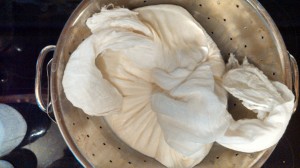
5. Let this drip for about 24 hours. You may let it drip while in the colander, but it will drip faster if you can hang the cheesecloth bundle. I hang it from a wooden spoon suspended over a tall stockpot. I like to cover all of it with plastic wrap to keep out the occasional fruit fly.
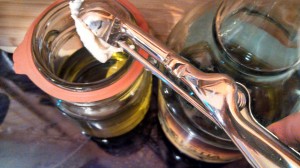
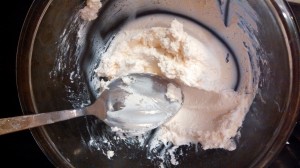
6. Untie the cheesecloth. The cheese should be kind of dry, especially if you are making cheeseballs. Mine was a little wetter than I wanted, so I chose to drop it from the cookie scoop straight into the jar of olive oil.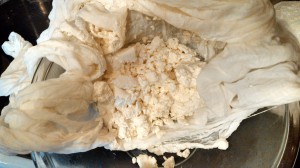
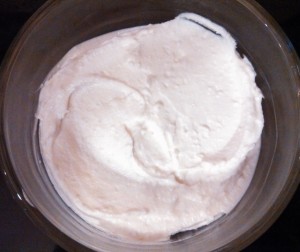
7. Empty the kefir cheese out of the cheesecloth into a bowl. It should kind of roll off of the cheesecloth as you pull the cheesecloth up while it is over the bowl.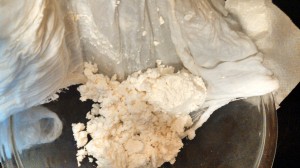
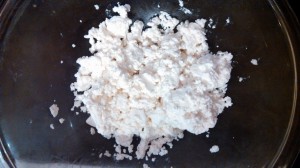
8. Add salt to taste. You won’t need a lot and maybe as little as 1/8 to 1/4 teaspoon. Taste and add more if needed.
9. At this point, you may either put the cheese into a bowl, cover and refrigerate or make it into kefir cheese balls.
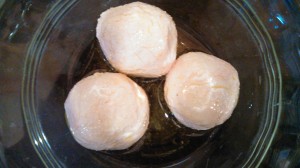
10. If you are making cheese balls, add about a cup and a half of extra virgin olive oil to a glass jar.
11. To make cheese balls, either spoon out about a tablespoon and roll into a ball between your fingers or dip it out with a cookie scoop. When using a cookie scoop, you may either drop it straight into the jar or roll it into a ball before putting it into the jar. Drop the balls into the olive oil in the jar. Cover with more olive oil. Make sure they are all covered.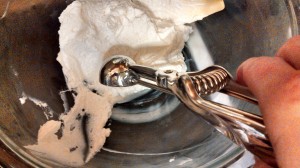
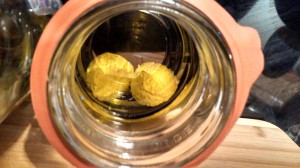
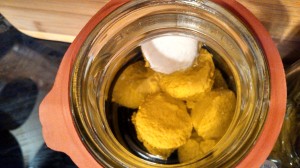
11. The kefir cheese balls may be stored at room temperature indefinitely. This is safe because the probiotic organisms protect it from bacteria that cause spoiling, and the olive oil prevents any air from getting to them.
This page contains affiliate links to products, services, and companies I use or recommend. When you make purchases through these links, you are supporting the companies or products I believe in, and you’re supporting DIY Probiotic Foods. There is no added cost for purchases you make through these links, but I earn a small commission, which helps to keep this website in operation. Thank you! DIY Probiotic Foods

Leave a Reply